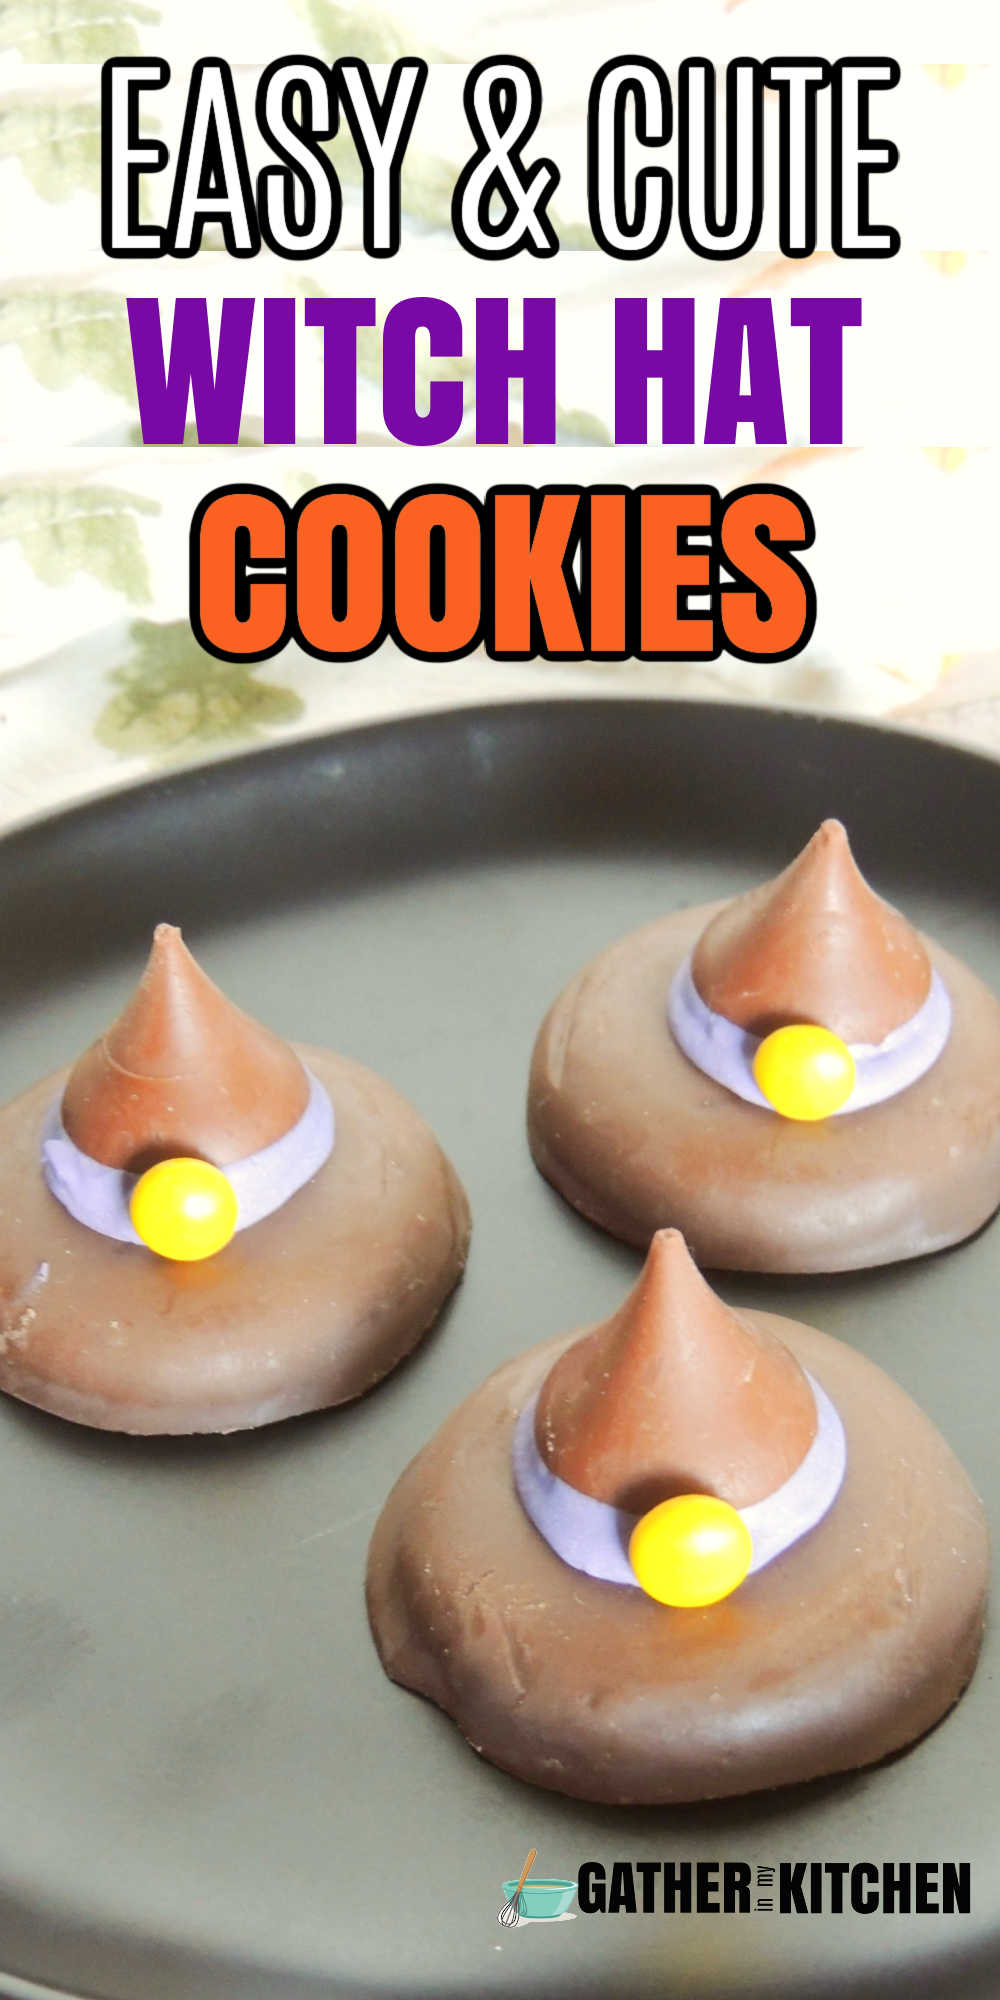
These witch hat cookies are the perfect treat for your Halloween party. Easy to make and kids love them!
Halloween is the perfect time for creepy-cute treats, and these charming witch hat cookies fit the bill.
Adorable chocolate cookie "hats" are magically perched on fudge-dipped cookies for a delightfully spooky effect.
With just a few simple ingredients like candy melts, Hershey's Kisses, and M&Ms, you can whip up a spellbinding batch in no time.
Witch Hat Cookies
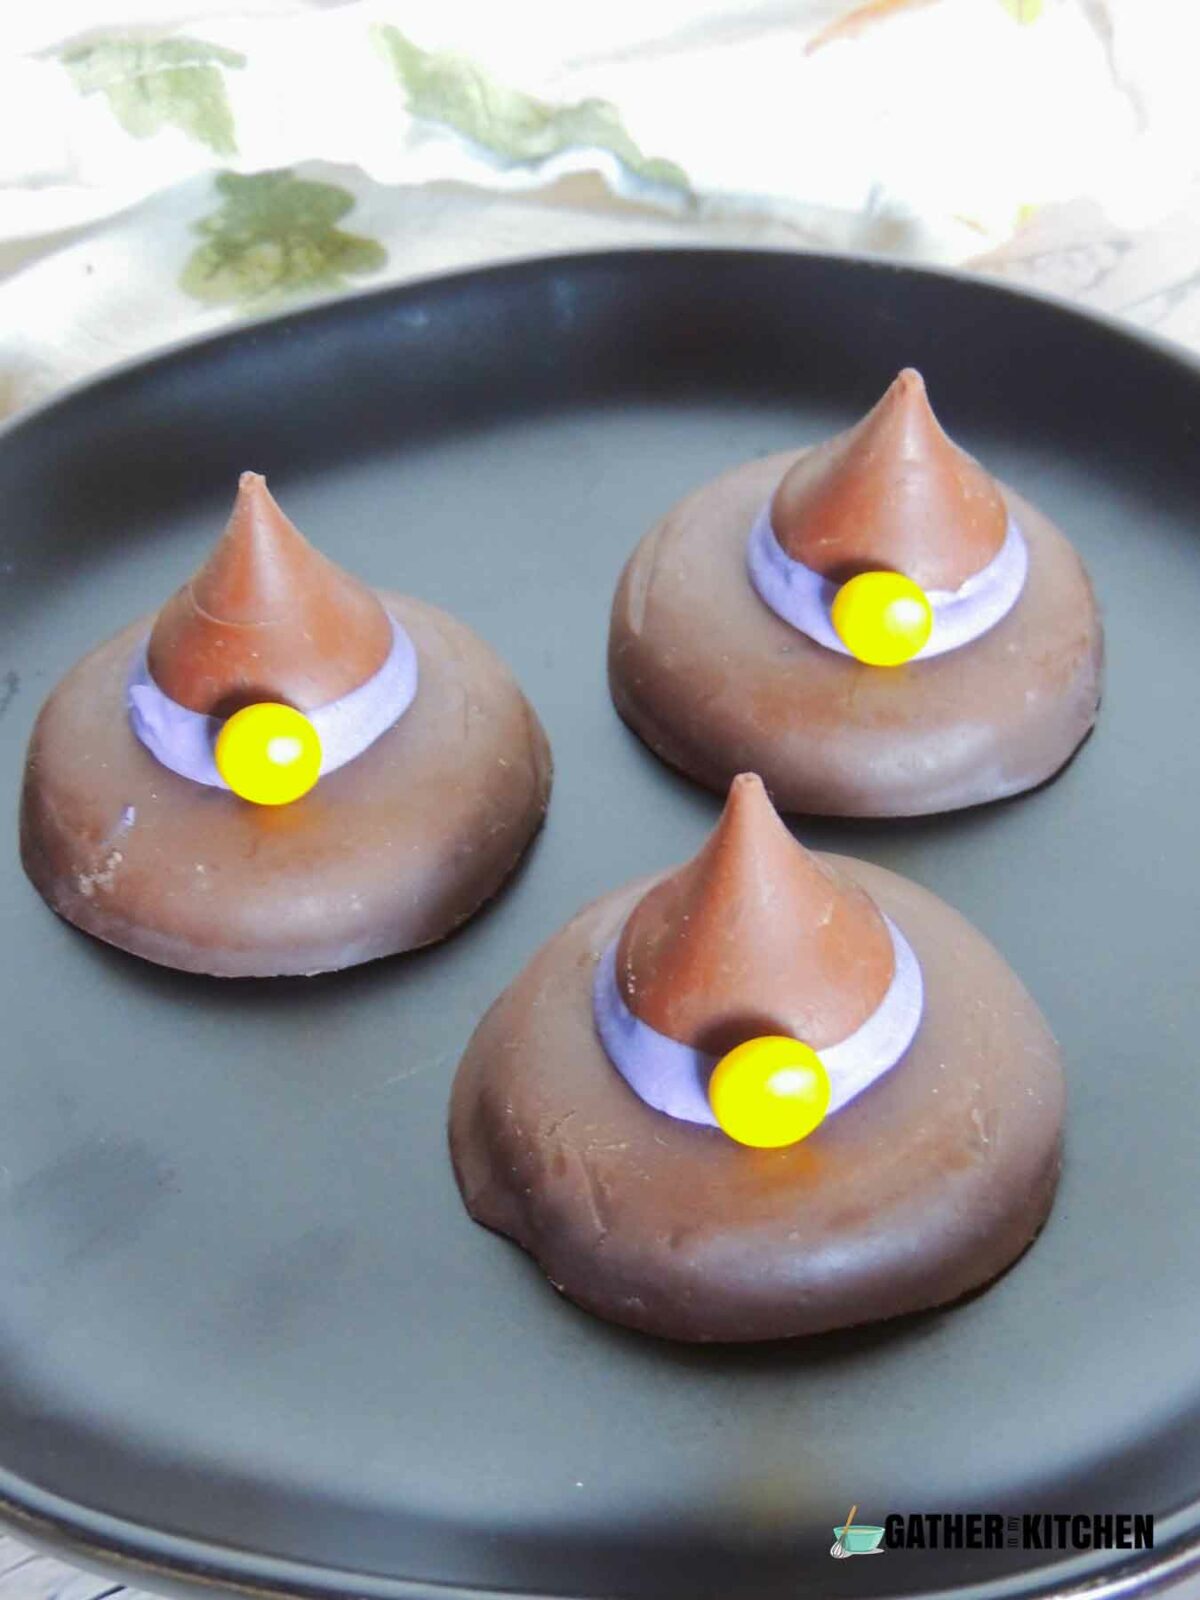
Decorating these cookies is a Halloween activity the whole family will enjoy.
In just minutes, you have bewitching cookies ready for your Halloween party, classroom treats, or trick-or-treater haul.
Their sweet flavors and charming design will light up little faces all Halloween night.
INGREDIENTS FOR WITCH HATS
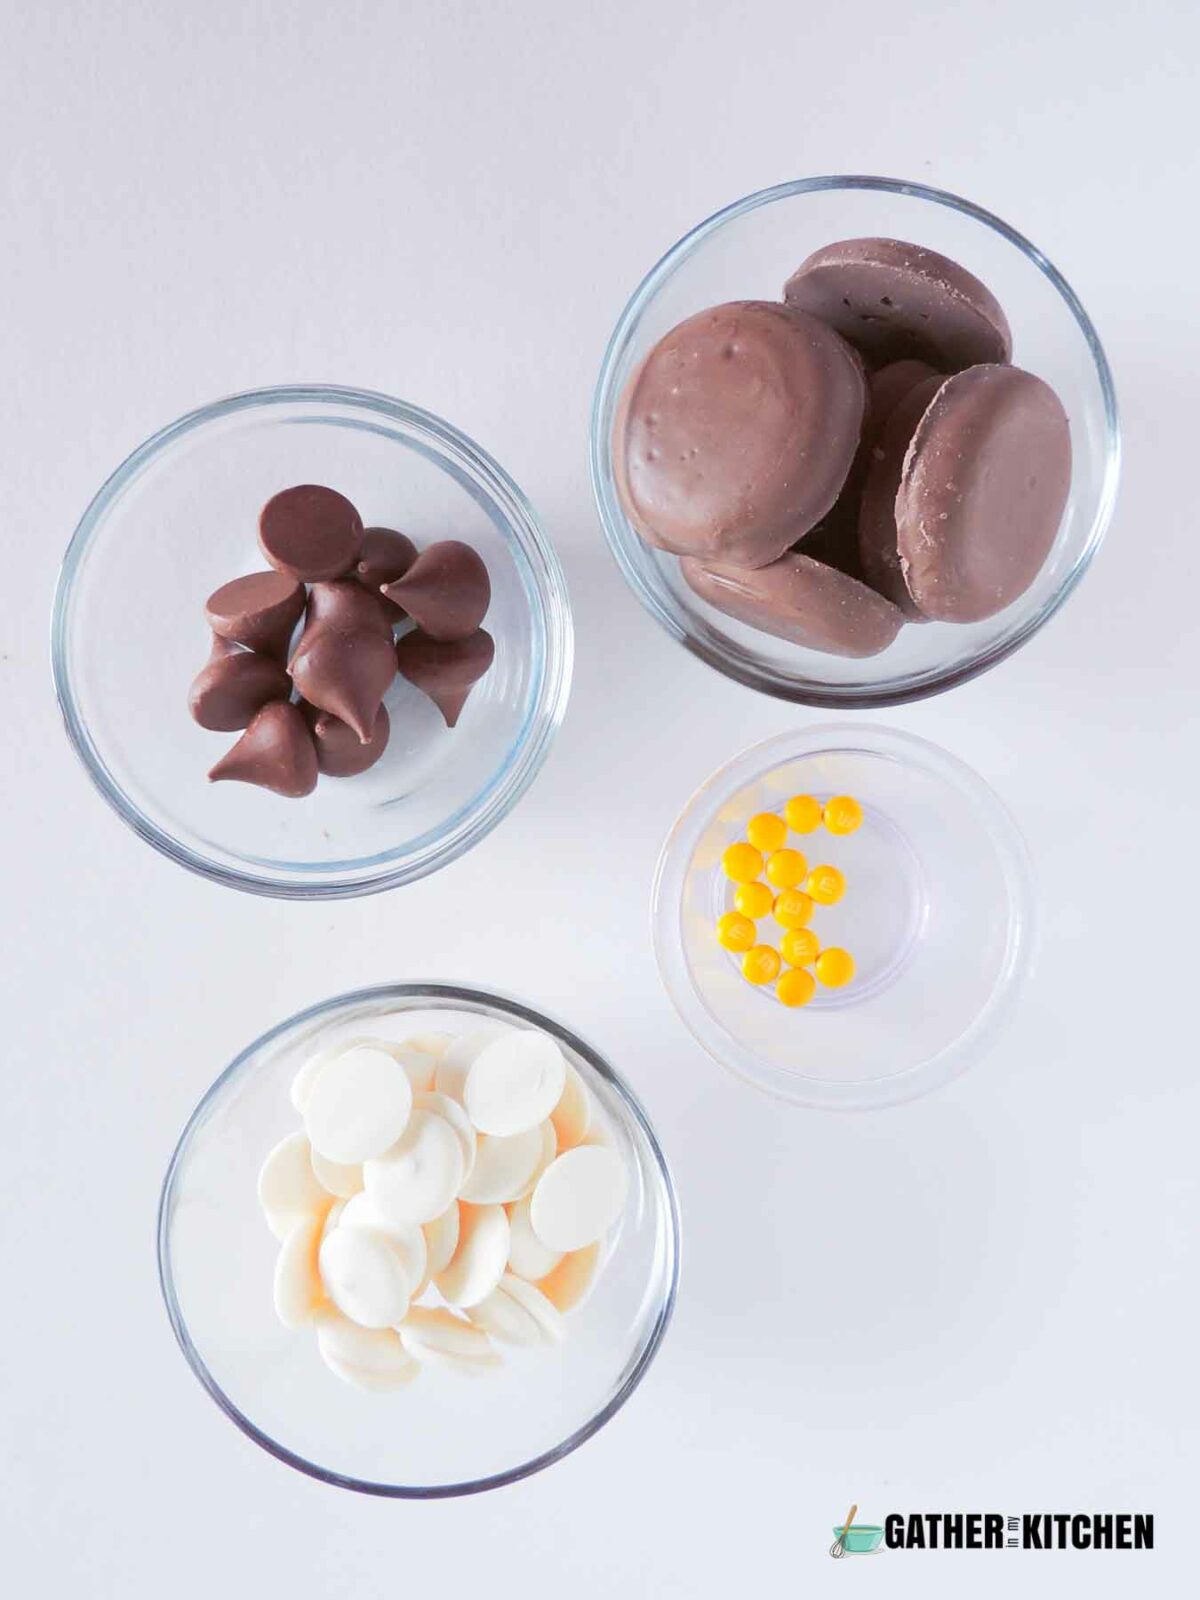
Fudge Covered Cookies: These serve as the base of your witch hats. Opt for a brand that you love, making sure they're sturdy enough to hold the toppings.
Hershey Kisses: You can experiment with different flavors or stick to the classic milk chocolate. Unwrap them to make sure they are ready to go before starting.
Candy Melts: They come in various flavors, so choose one that complements your cookie and chocolate. White candy melts are often preferred as they can be easily tinted.
Yellow Mini M&M’s: These add a pop of color and act as the buckle of the witch hat. Feel free to use other candy or even edible gold stars for a magical touch.
Food Coloring (Orange or Purple): Gel food coloring is recommended as it doesn't alter the consistency of the candy melts. Remember, a little goes a long way!
HOW TO MAKE WITCH HATS
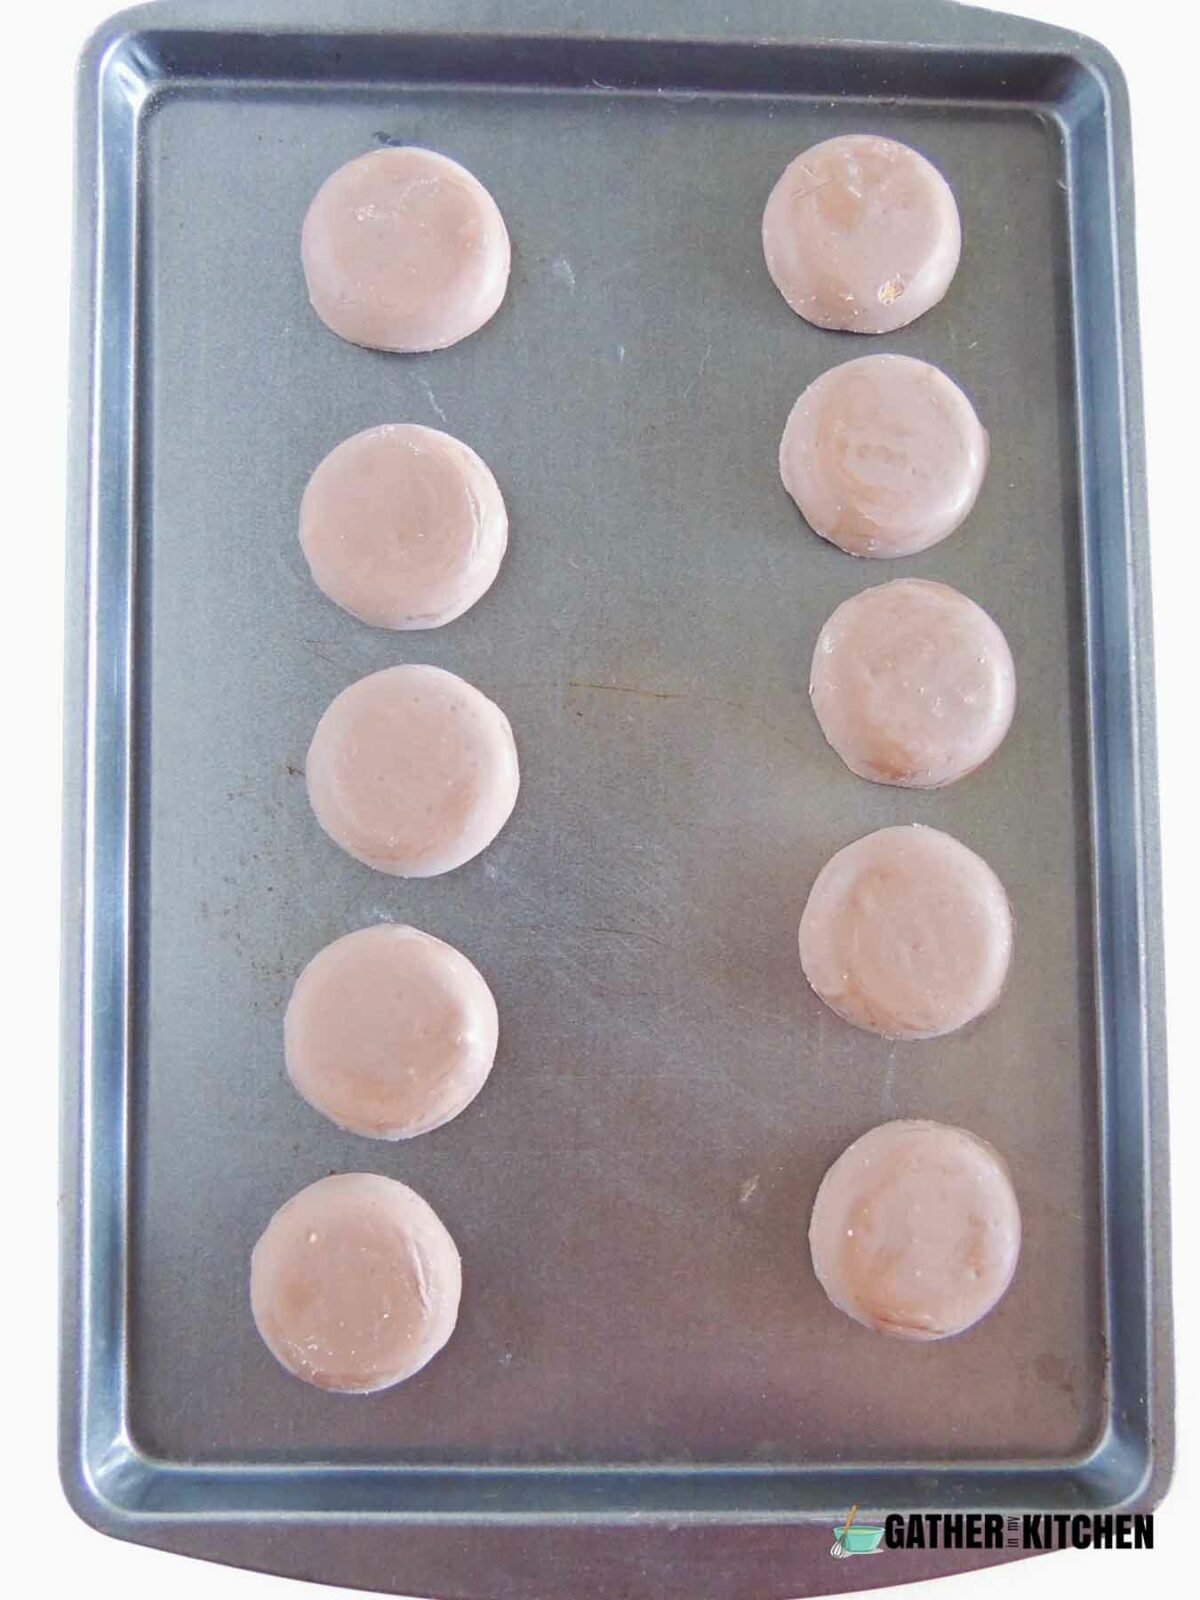
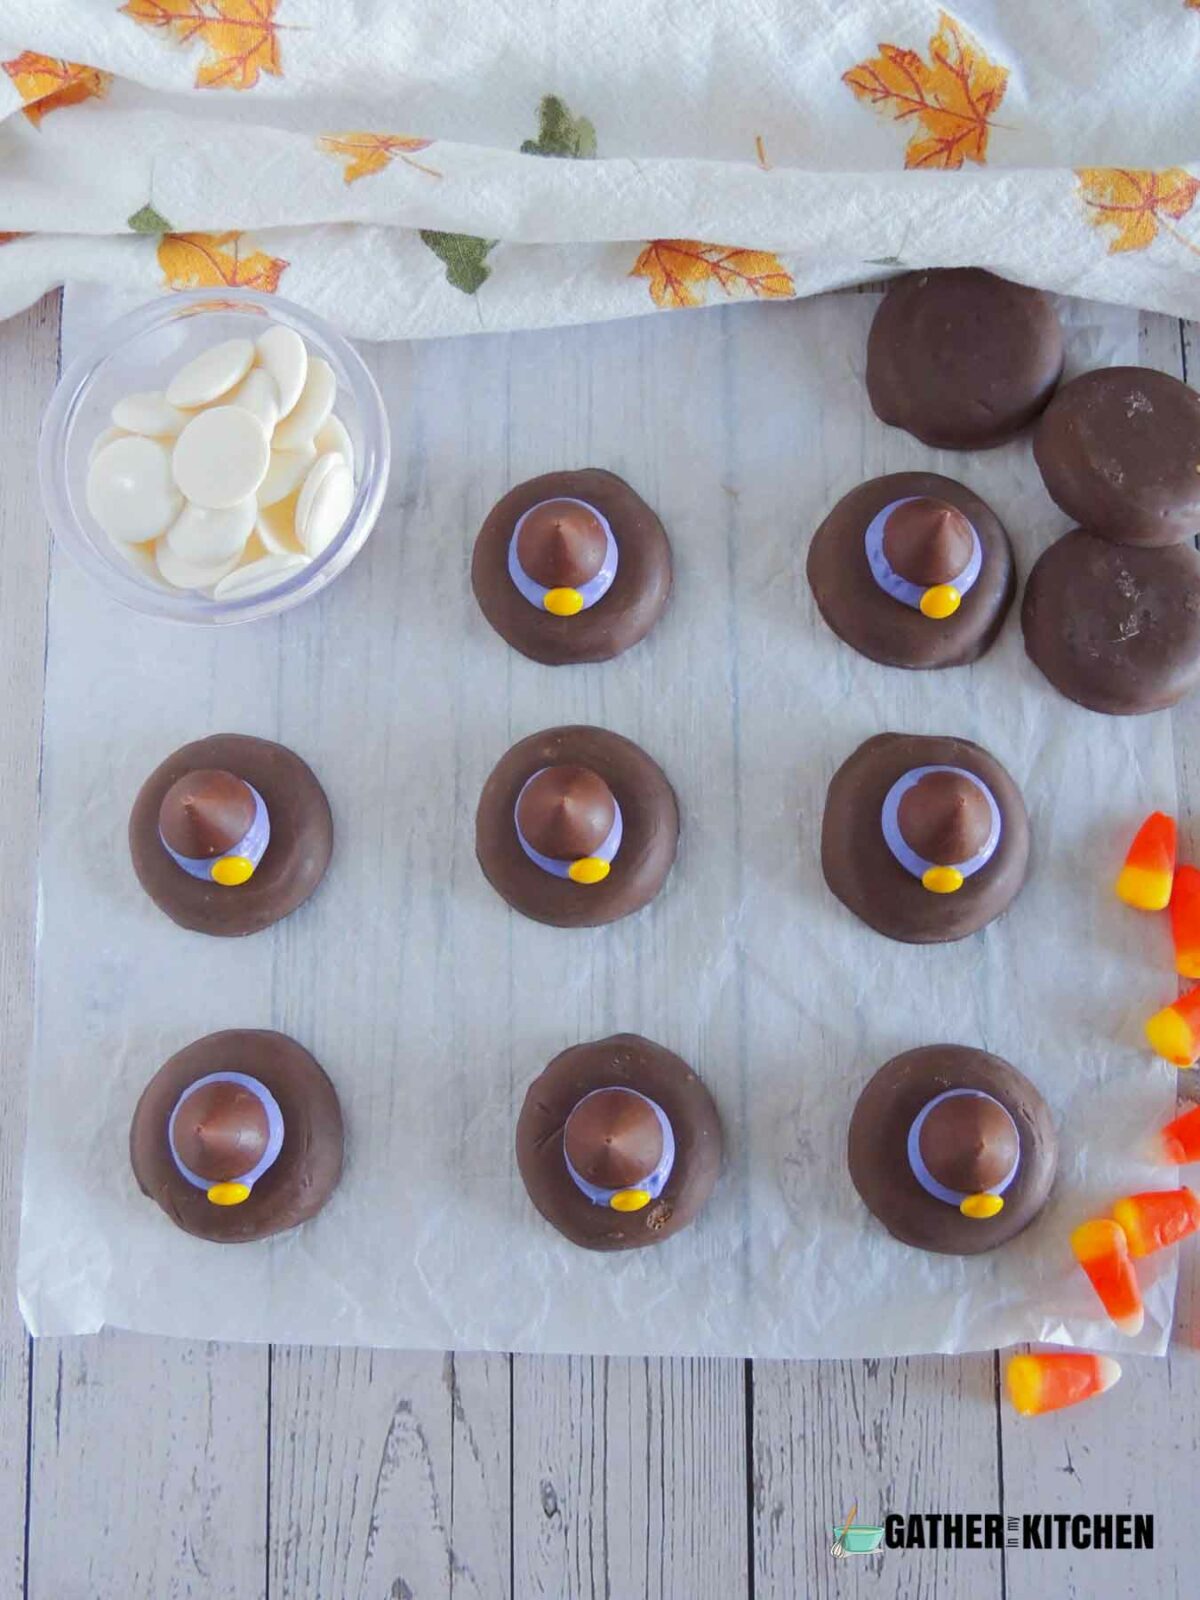
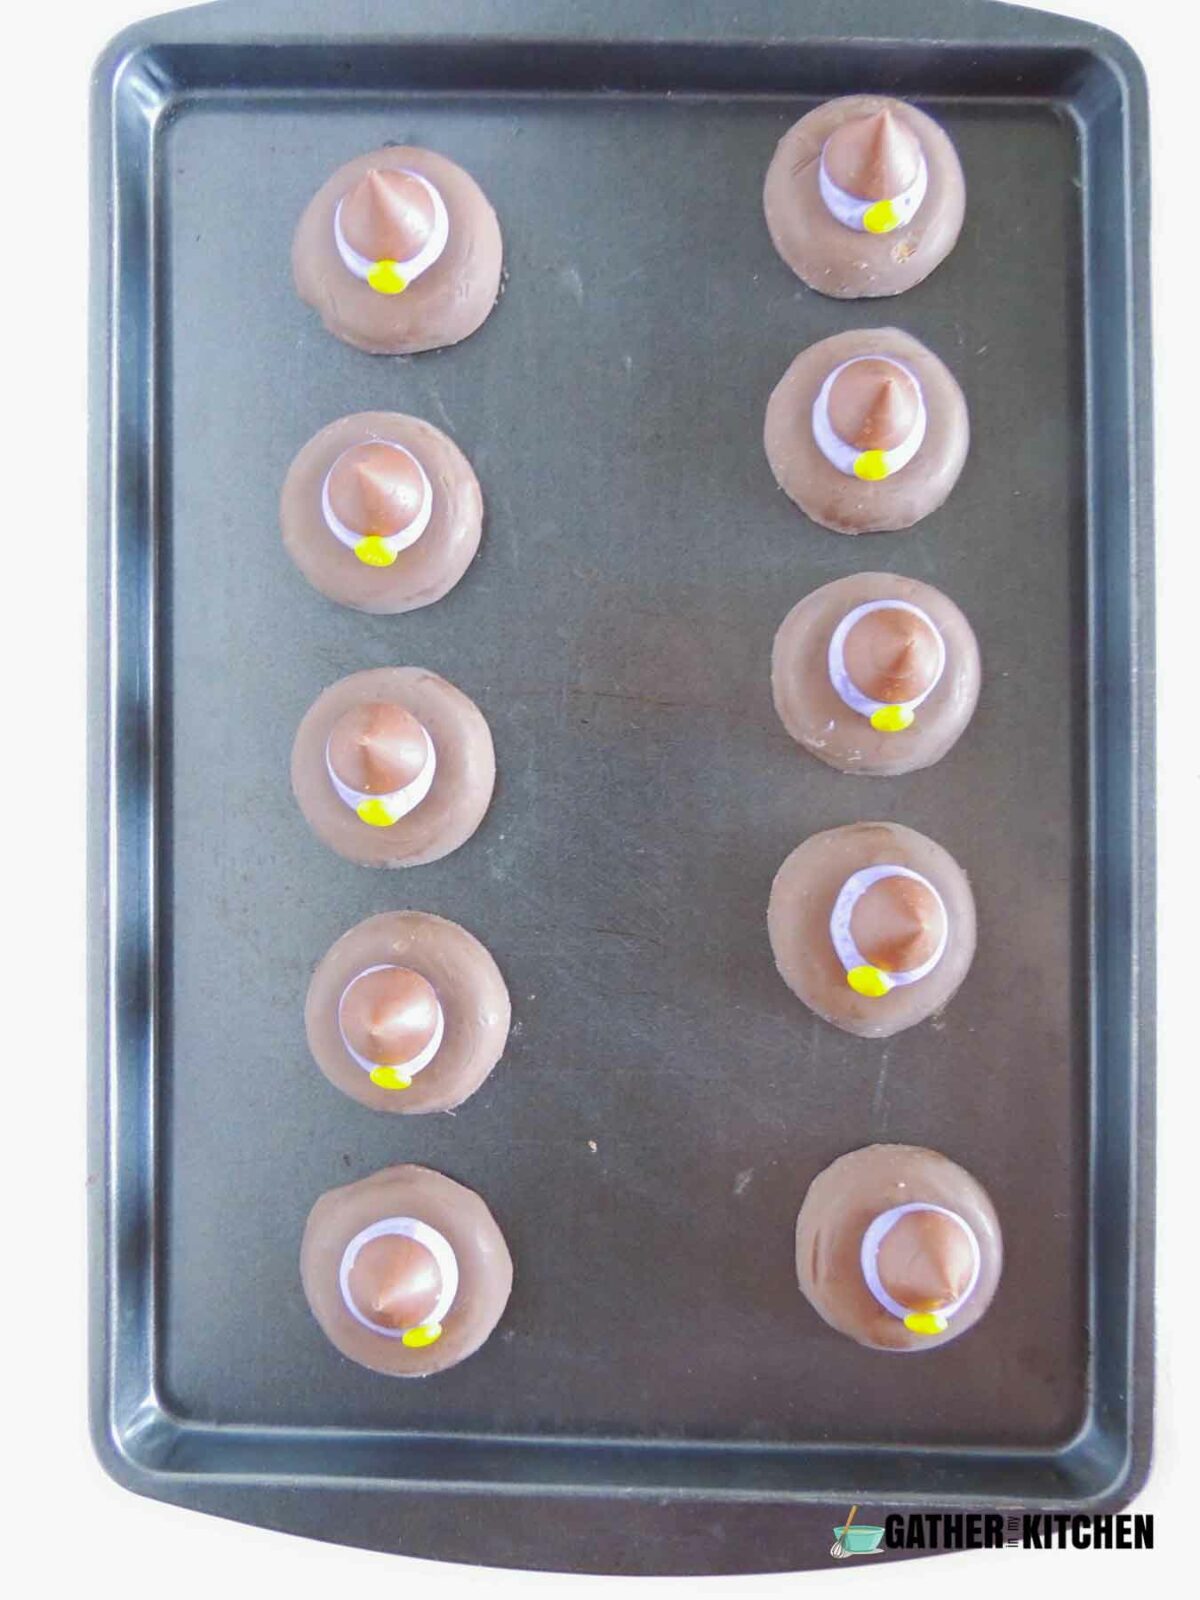
Start by arranging your fudge covered cookies on a baking sheet, spacing them out evenly.
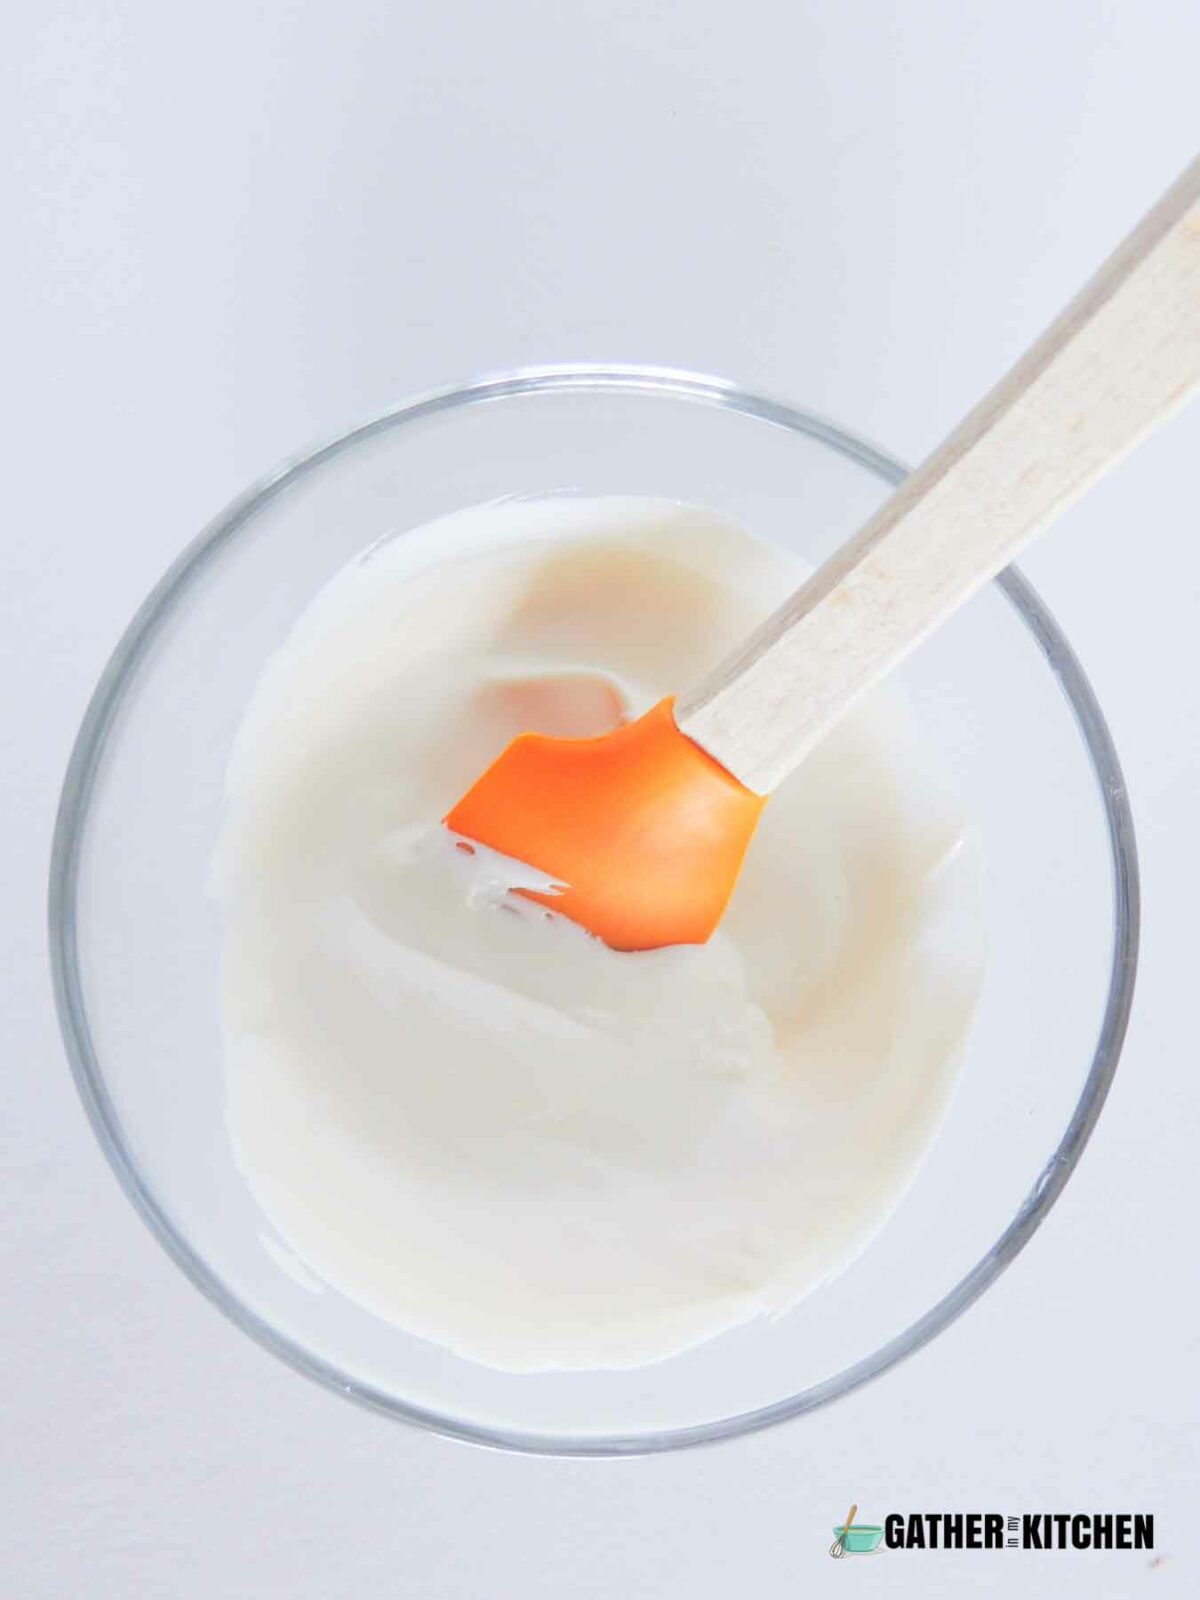
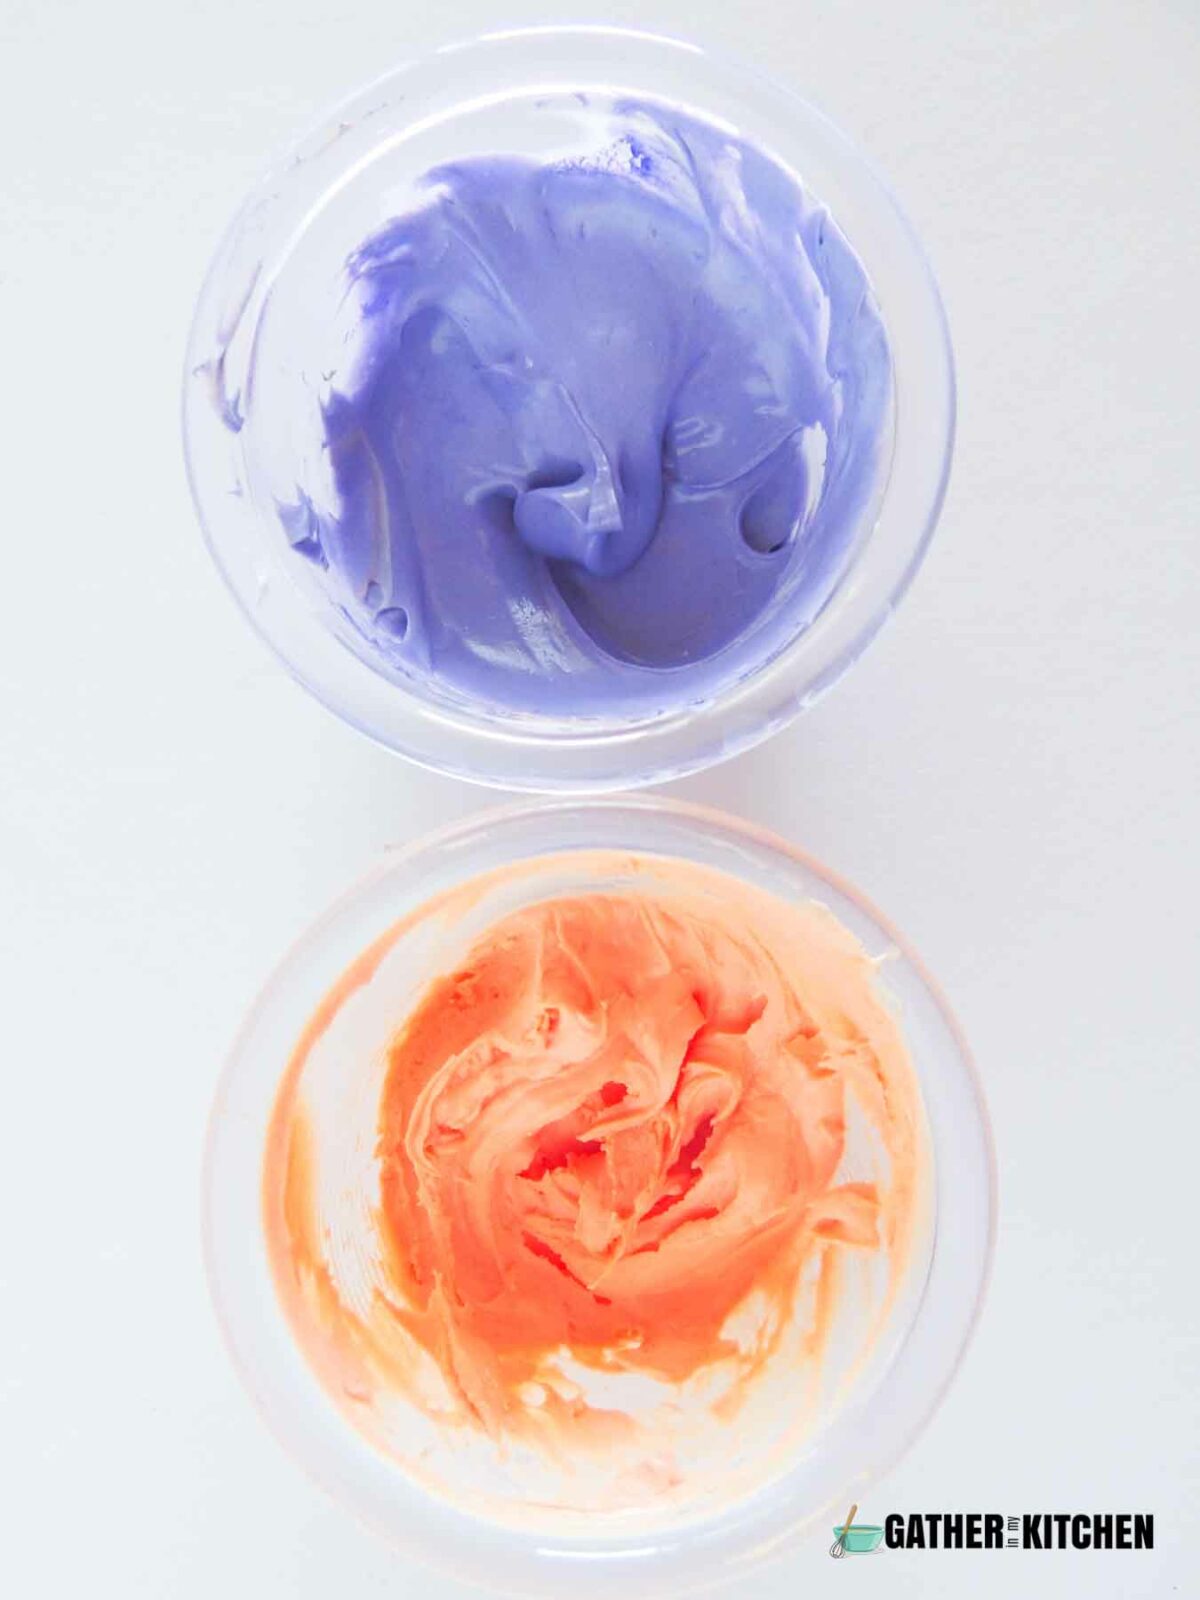
Next, focus on preparing the adhesive for your hats. Melt the candy melts in the microwave, stirring occasionally to achieve a smooth consistency. Once melted, add a few drops of food coloring. Stir thoroughly for an even color.

With your tinted candy melt ready, it's time to assemble.
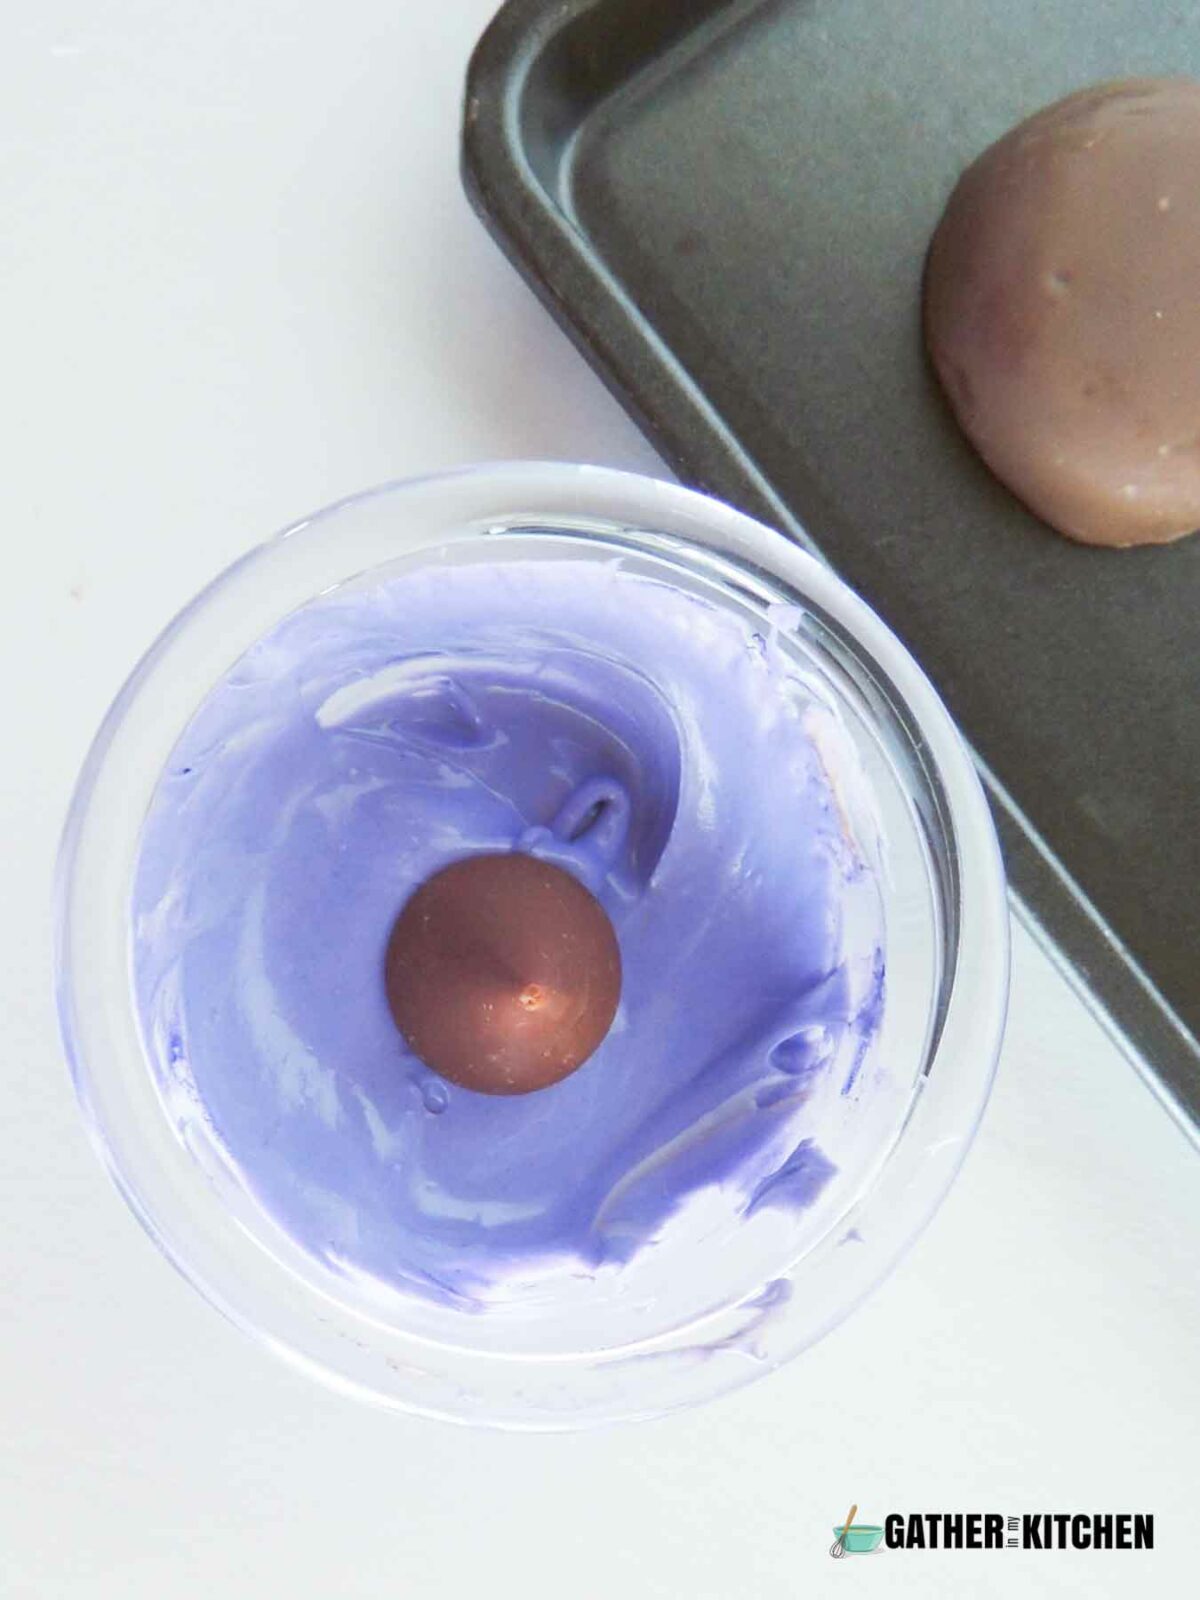
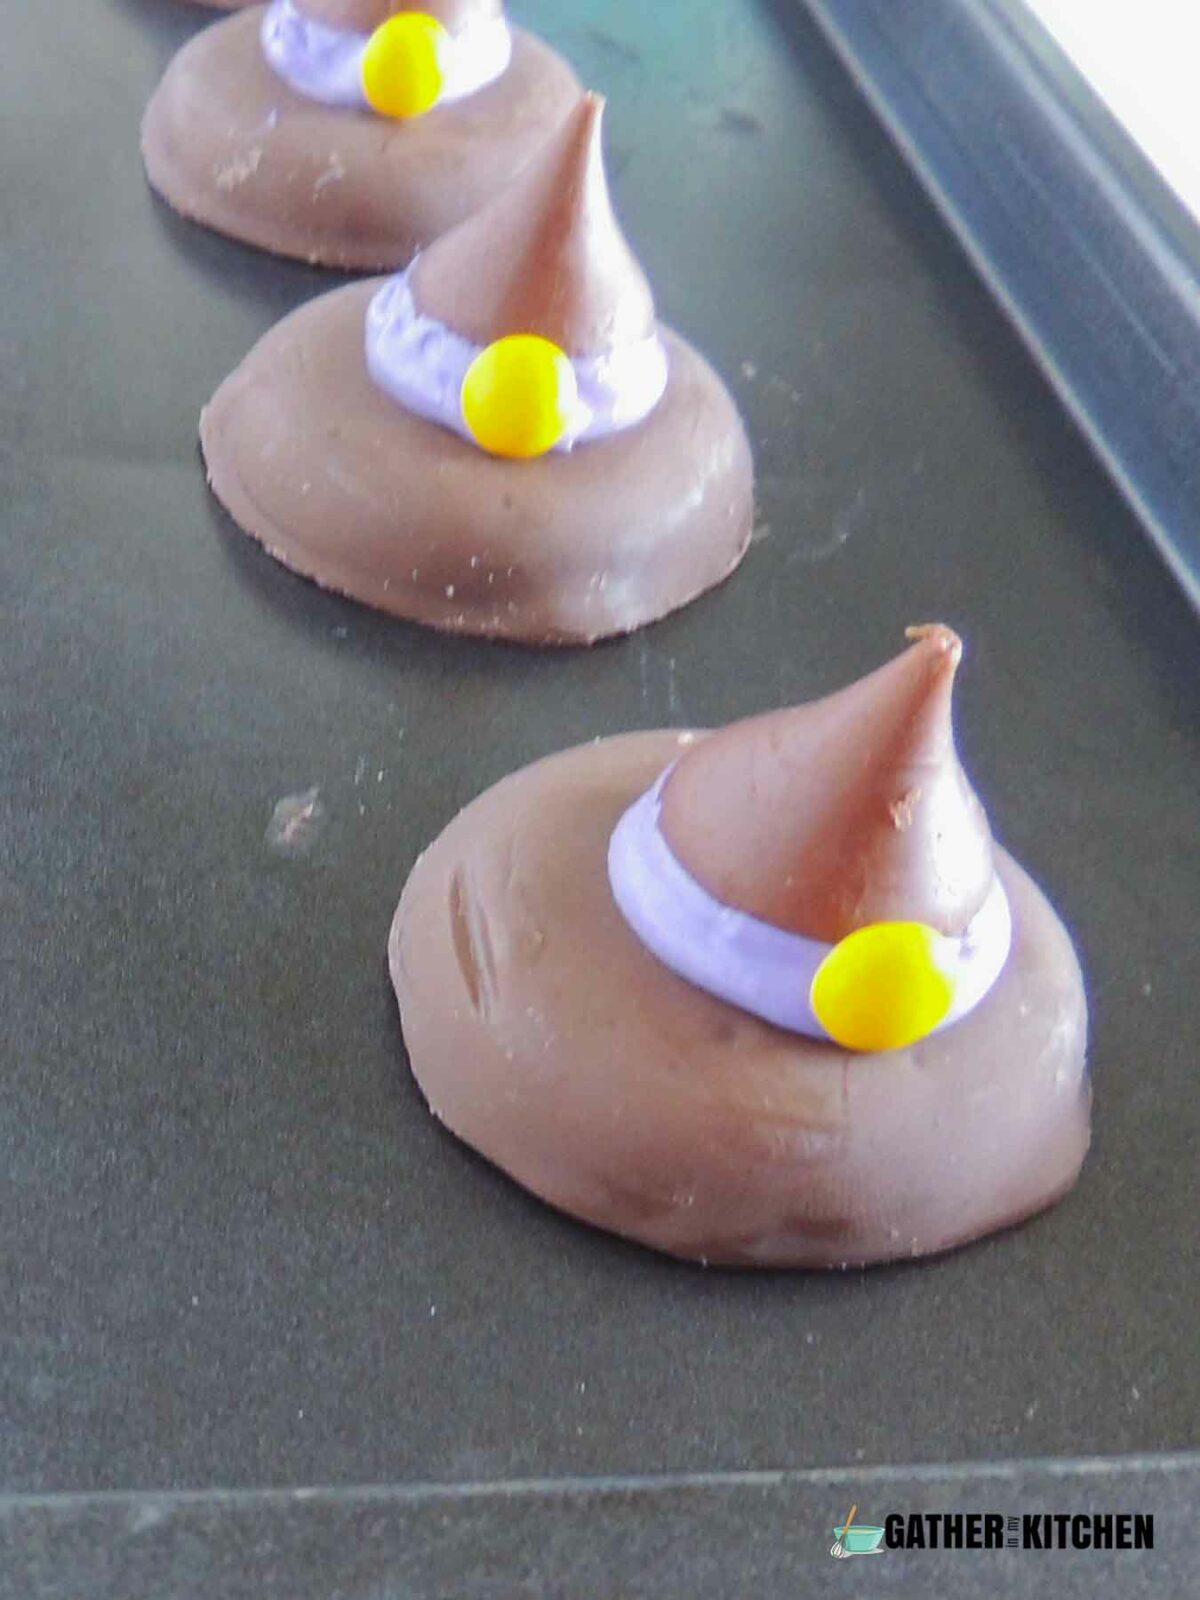
Dip the base of each Hershey kiss into the melted candy - you want it coated but not dripping.
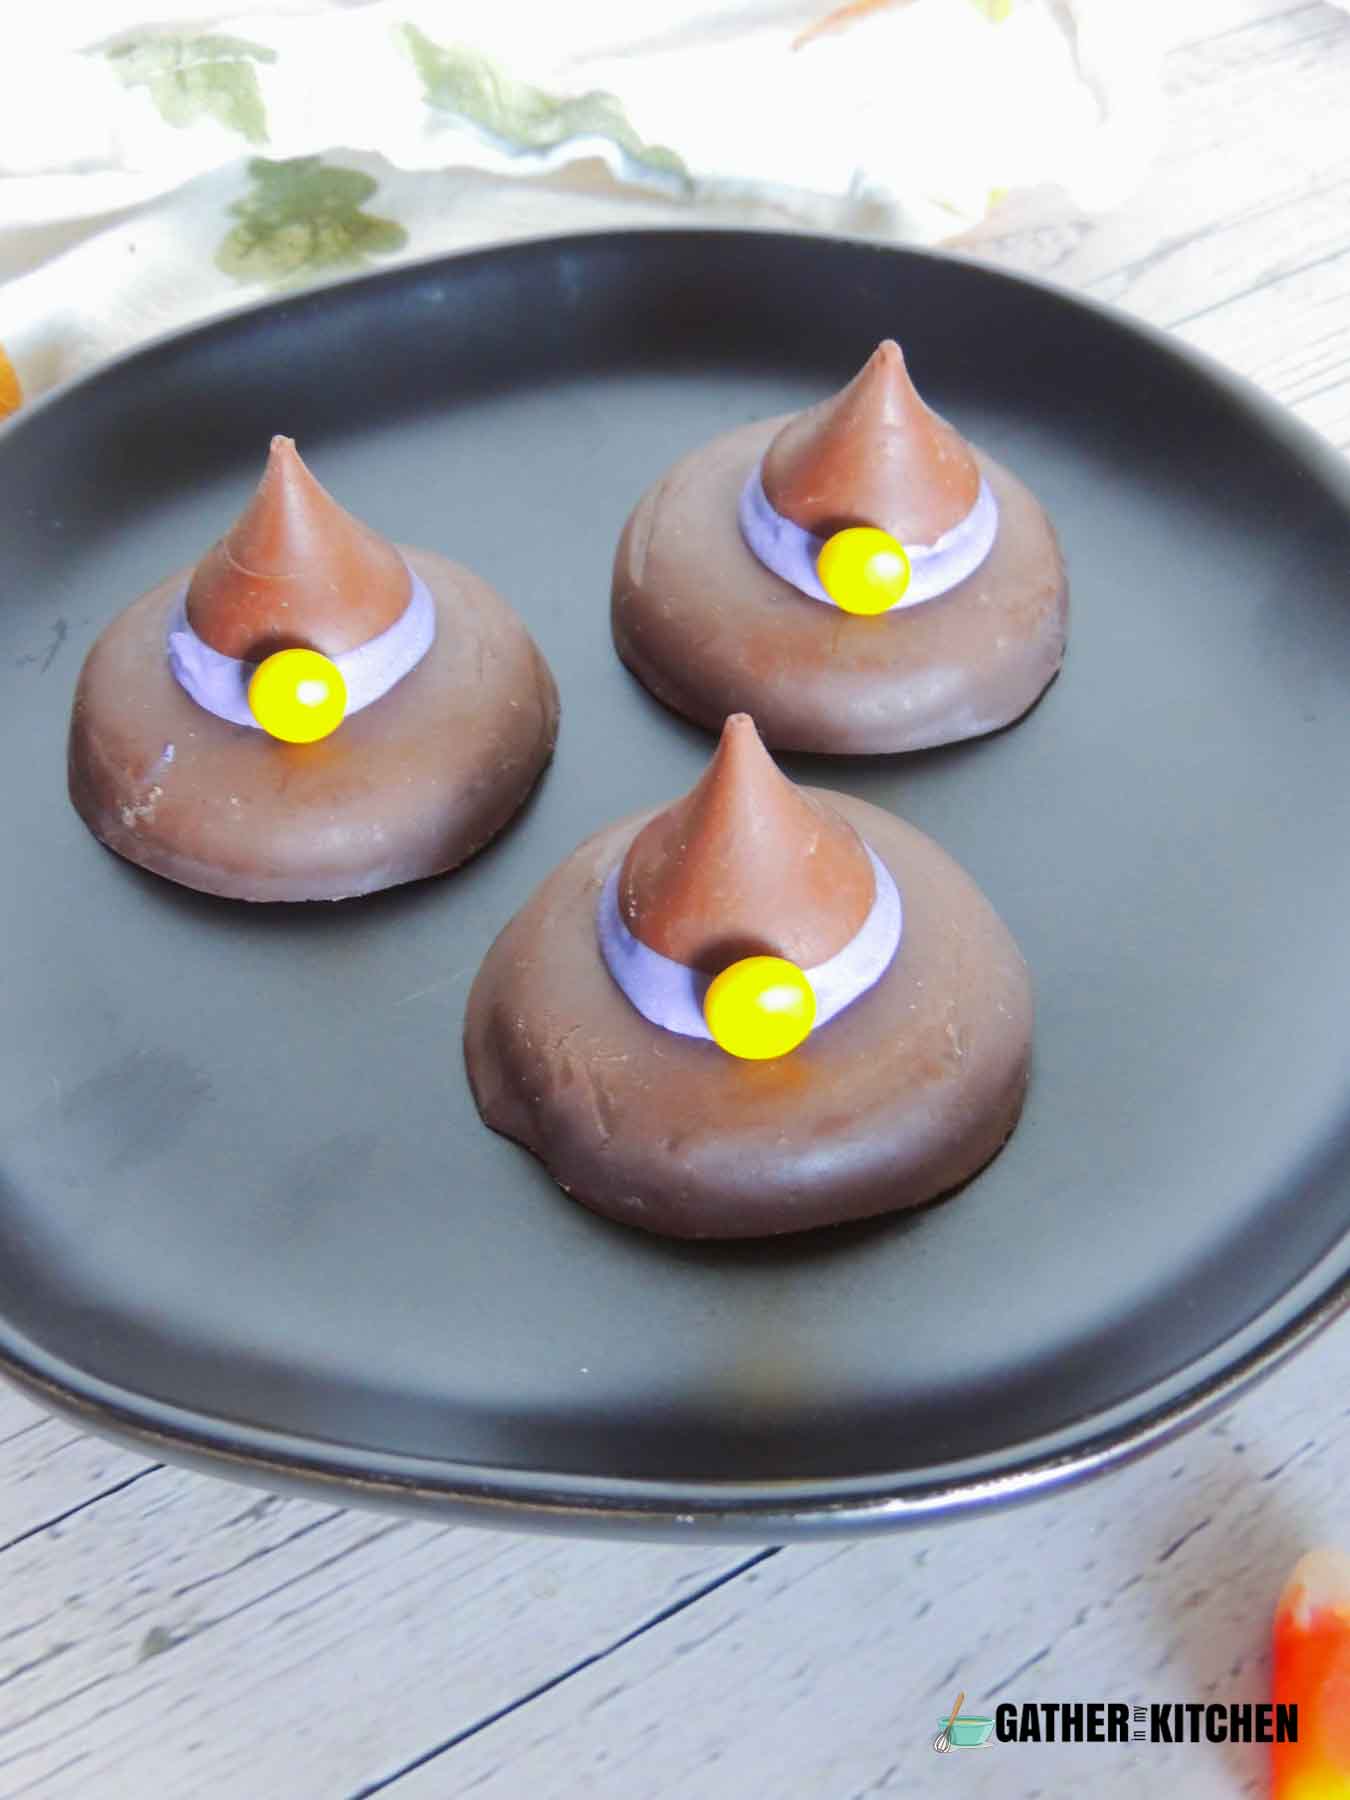
Position it in the center of a fudge cookie, pressing down gently. This not only secures the Hershey kiss but also creates a slight rim, mimicking the shape of a witch's hat.
For the final touch, place a yellow mini M&M on the rim, giving the illusion of a buckle.
Once all your hats are assembled, let them set for a few minutes.
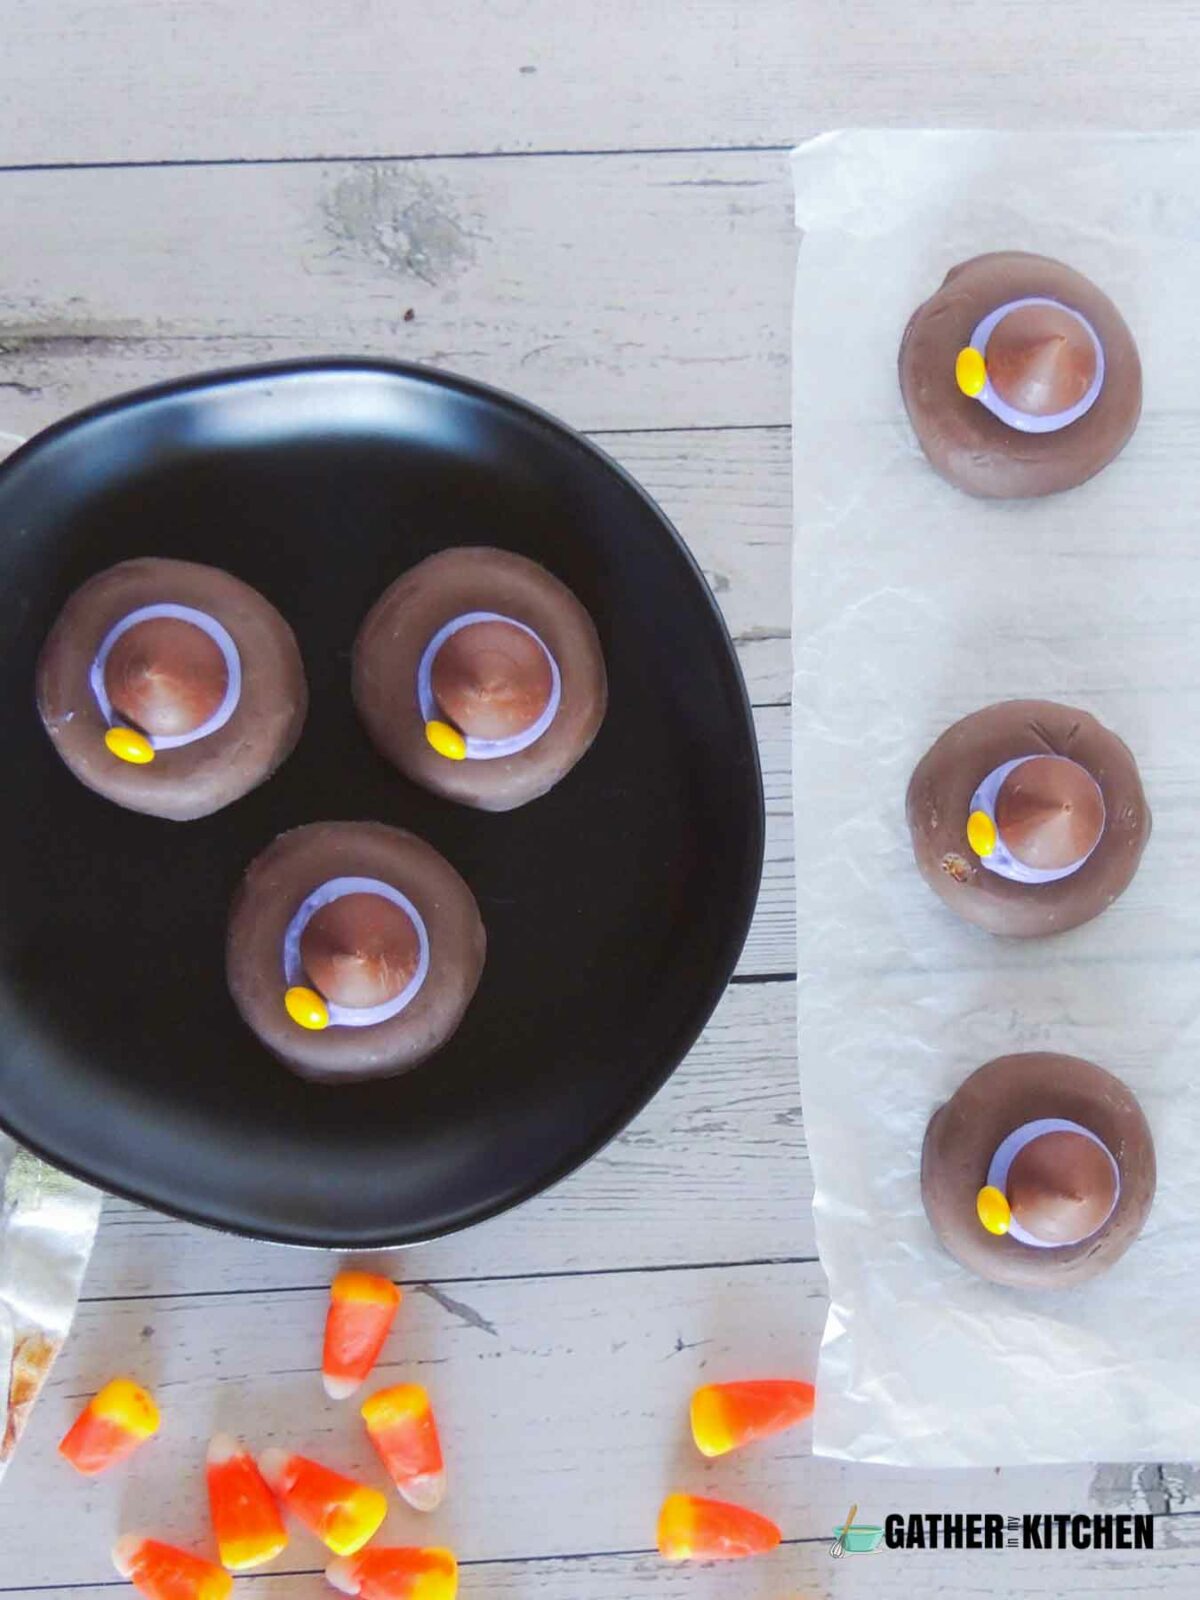
Enjoy!
TIPS TO MAKE WITCH HATS
Here are some tips for making delightful witch hat cookies:
- Make sure the candy melts fully coat the bottom of the Hershey's Kisses for stability. Hold the kiss in place for 30 seconds after dipping to help it adhere.
- Tint the candy melts with gel food coloring rather than liquid for vivid, even color. Start with just a few drops and increase as needed.
- Work quickly while decorating so the candy melts don't set before you can attach the hats. Microwave 10 seconds to remelt if needed.
- Place the cookies on a baking sheet while decorating to catch any drips and make transporting easy.
- Make sure cookies lay flat, not tilted, so the kisses stand upright.
- Attach M&M buckles right away before candy melts dry for best adhesion.
- Store witch hat cookies in the fridge if not serving immediately to keep the hats from sliding.
With a few simple tricks, you'll have cute as can be witchy cookies for Halloween!
STORAGE AND LEFTOVERS
Here are some tips for properly storing witch hat cookies to maintain their magical charm:
- Allow the assembled cookies to fully set and harden at room temperature before storage. This helps secure all decorations in place.
- Place cookies in a single layer in an airtight container.
- Store witch hat cookies in the refrigerator if not serving within a few hours. The chilled environment helps the candy melts and decorations stay firmly attached.
- Transport decorated cookies very carefully, keeping them flat and still to avoid jostling the hats.

Witch Hats
Ingredients
- 12 fudge covered cookies
- 12 hershey kisses
- ½ cup candy melts
- 12 yellow mini M&M’s
- Orange or purple food coloring
Instructions
- Lay out 12 fudge covered cookies on a baking sheet.
- Melt your ½ cup of candy melts in the microwave.
- Add 3-5 drops of purple or orange coloring to the melted candy melts and mix until well incorporated.
- Place each hershey kiss in the melted candy melt and place in the middle of the fudge cookie.
- Place a yellow mini M&M along the rim to make it look like a buckle.
- Serve and Enjoy!
Leave a Reply